Book a table
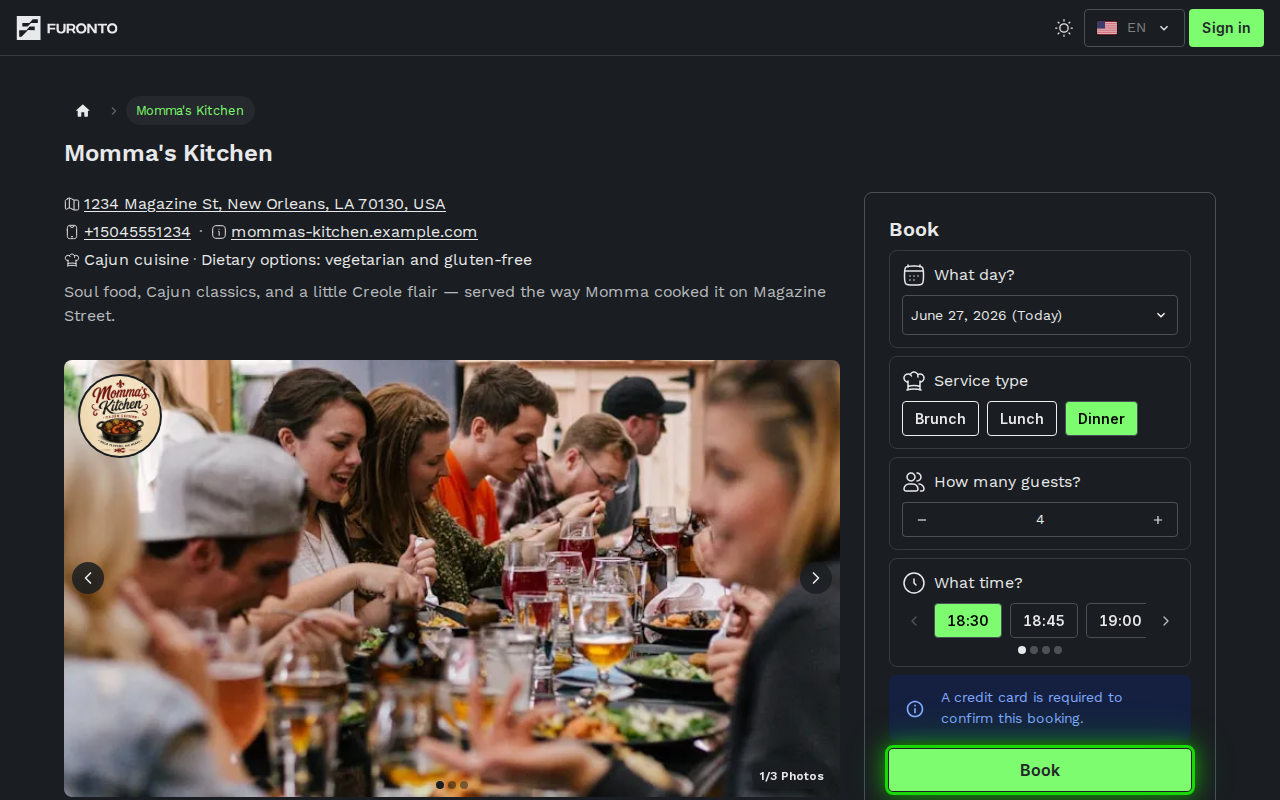
Booking happens right on the venue's profile page. The card on the right side of the page is your booking form: choose a service, a day, how many people are coming, a time, and the menu (if the venue offers one). When everything looks right, the Book button takes you to the confirmation step.
Anyone making a booking. You don't need an account to fill in the form — sign-in is only requested on the next step, when the booking is actually placed.
Getting there
Open the venue's profile page from the home page or by following a link a friend sent you. The booking card is pinned next to the photos and venue info.
If the venue is hosting a special event, the event has its own dedicated page — see business profile for how to find it.
How it works
The card guides you top-to-bottom: pick the day, pick the service, set the party size, pick a time, and finally pick a menu (when shown). Each choice updates the rest of the form so you only ever see times that are actually available. Menus and extras sit at the bottom on purpose — most of them are priced or counted per guest, so the card asks how many of you are coming first.
Step 1: Pick a day
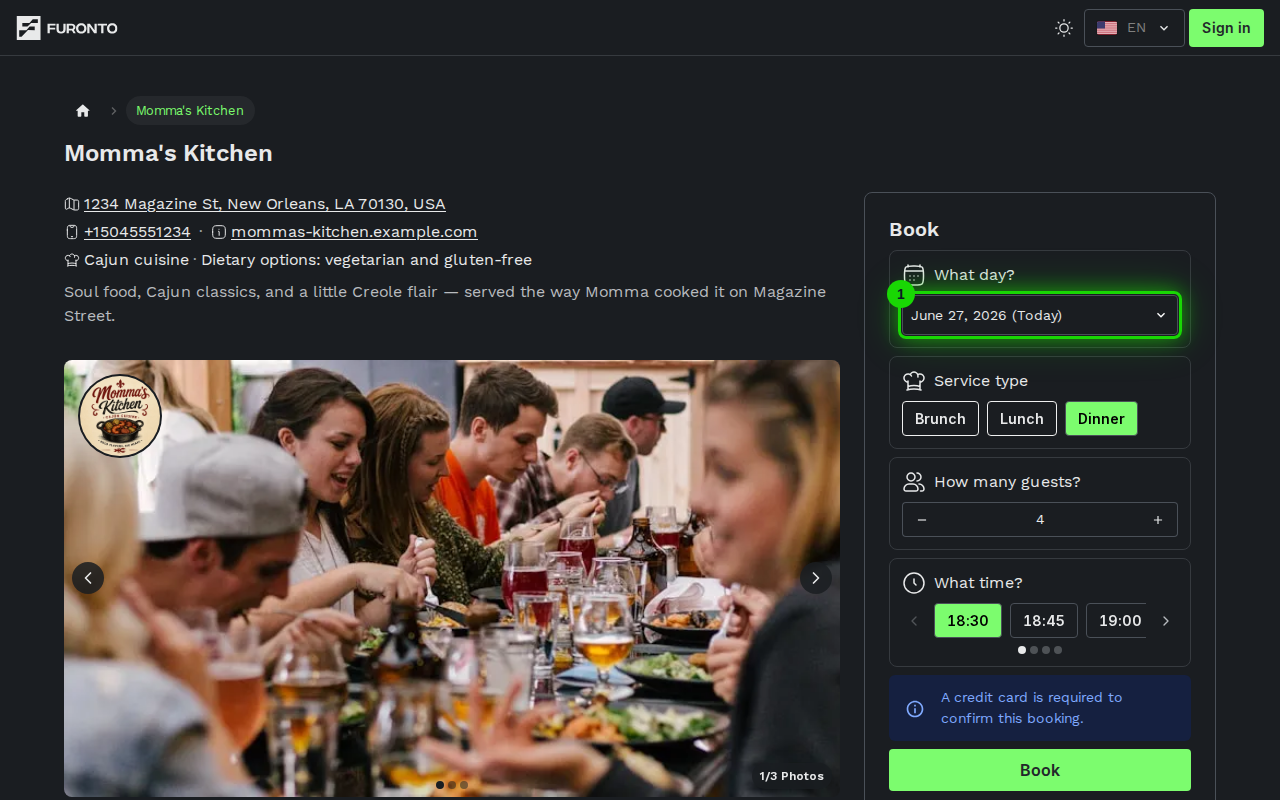
Tap the date field at the top of the card to open the calendar. Past dates are disabled and dates beyond the venue's booking window can't be selected — the venue's policy controls how far ahead bookings open. Pick the day you want to come and the rest of the form refreshes.
If the venue is fully booked on the day you wanted, try the day before or after — the card auto-suggests another service when the first one is full, so you can spot alternatives without leaving the form.
Step 2: Choose a service type
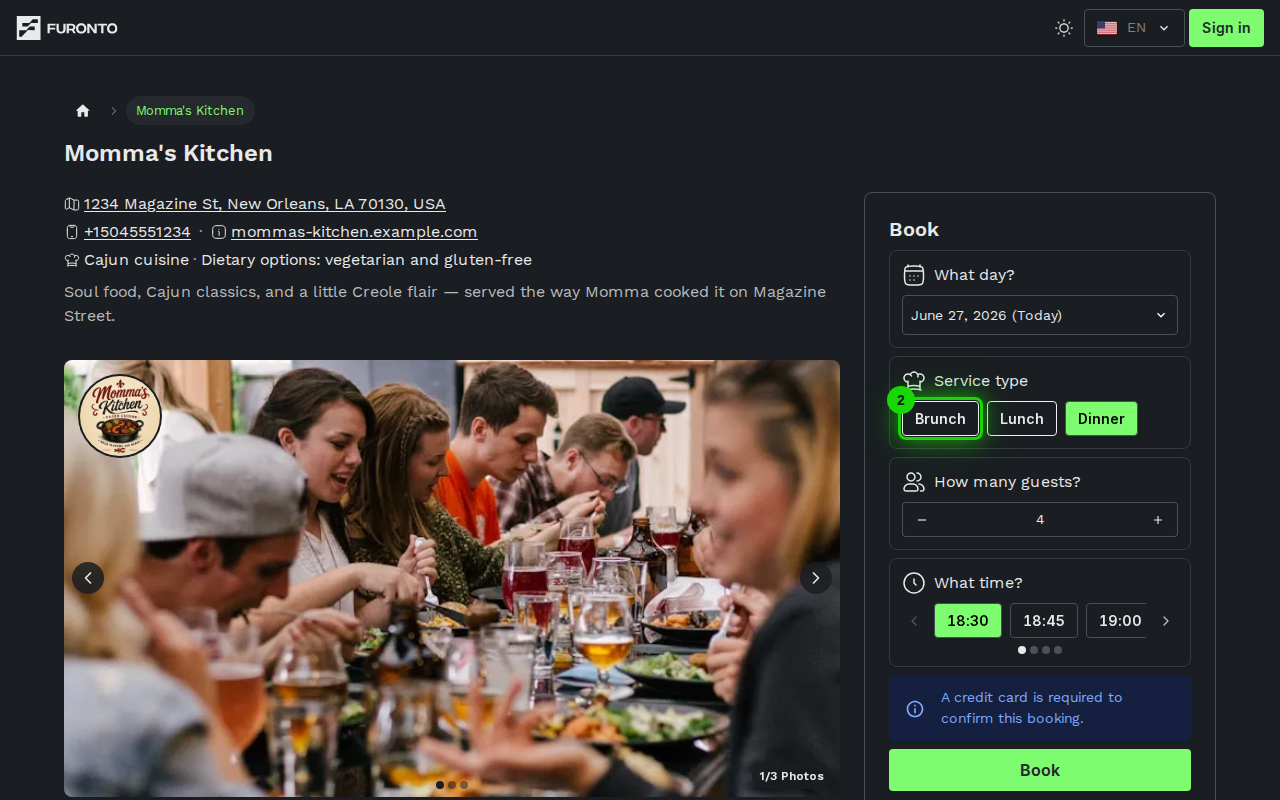
Below the date, you'll see pills like Lunch, Dinner, or whatever the venue has set up. Tap one to switch the available times. The pill turns green when selected.
If the venue only runs a single service, this row is hidden and the choice is made for you.
You'll only see services you can still do something about. If you open a venue at 4 PM, Lunch is gone from the row — it finished hours ago and no change to the date, the party size, or anything else would bring it back. Services that are still running but already full stay in the row, greyed out, so you can pick one and join the waitlist for it.
Pick tomorrow on the calendar and the full list comes back.
Step 3: Set the party size
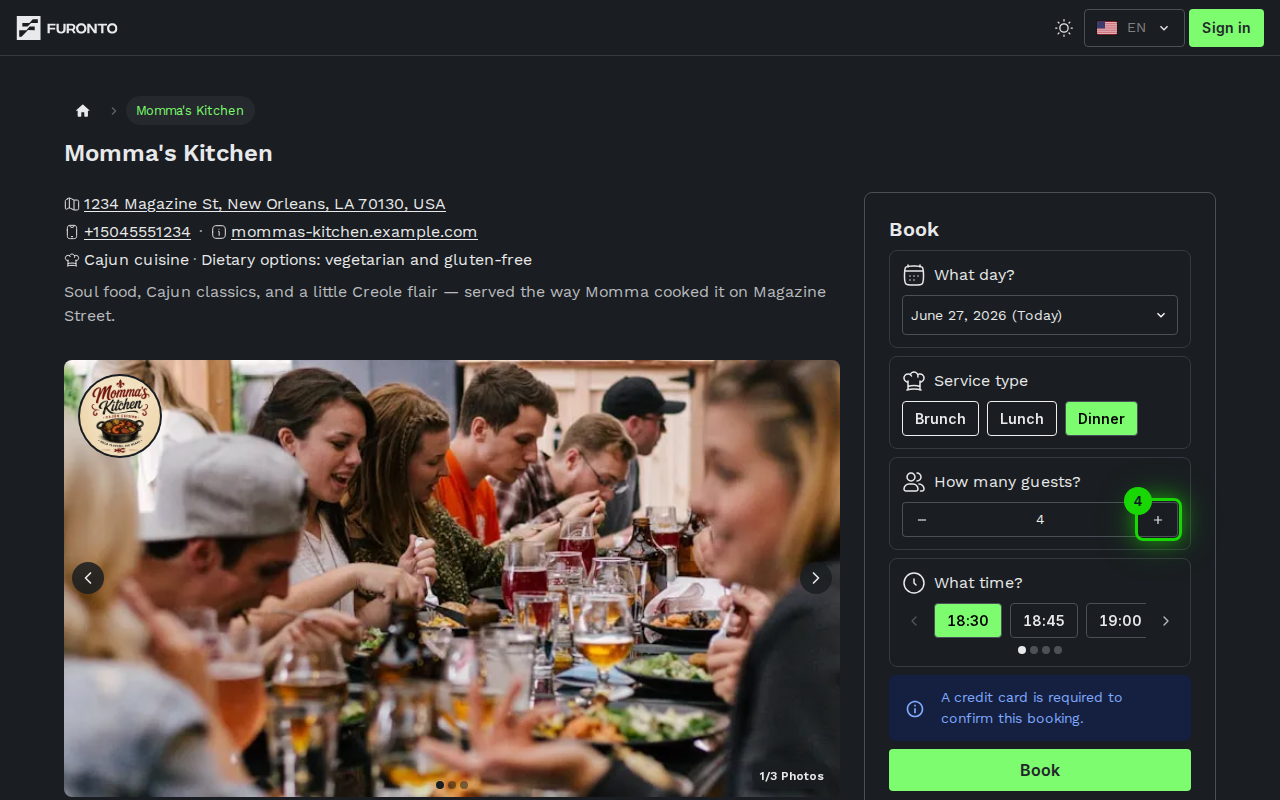
Use the + and − buttons in the How many guests? row to choose how many people are coming. The maximum the venue accepts online is set by the largest table — or combinable group of tables — on their floor plan. When tables are combined, the venue's seat count reflects the chairs lost where they're pushed together, so the size offered is one that will actually fit. If you need a bigger party, contact the venue directly.
The party size also filters the available times — a slot only appears if the venue has a table that fits your group.
Step 4: Pick a time
The What time? row shows every slot still open for the day, service, and party size you chose. Tap the time you want; it turns green. If the row says "No available times for this date," try a different day or a different service.
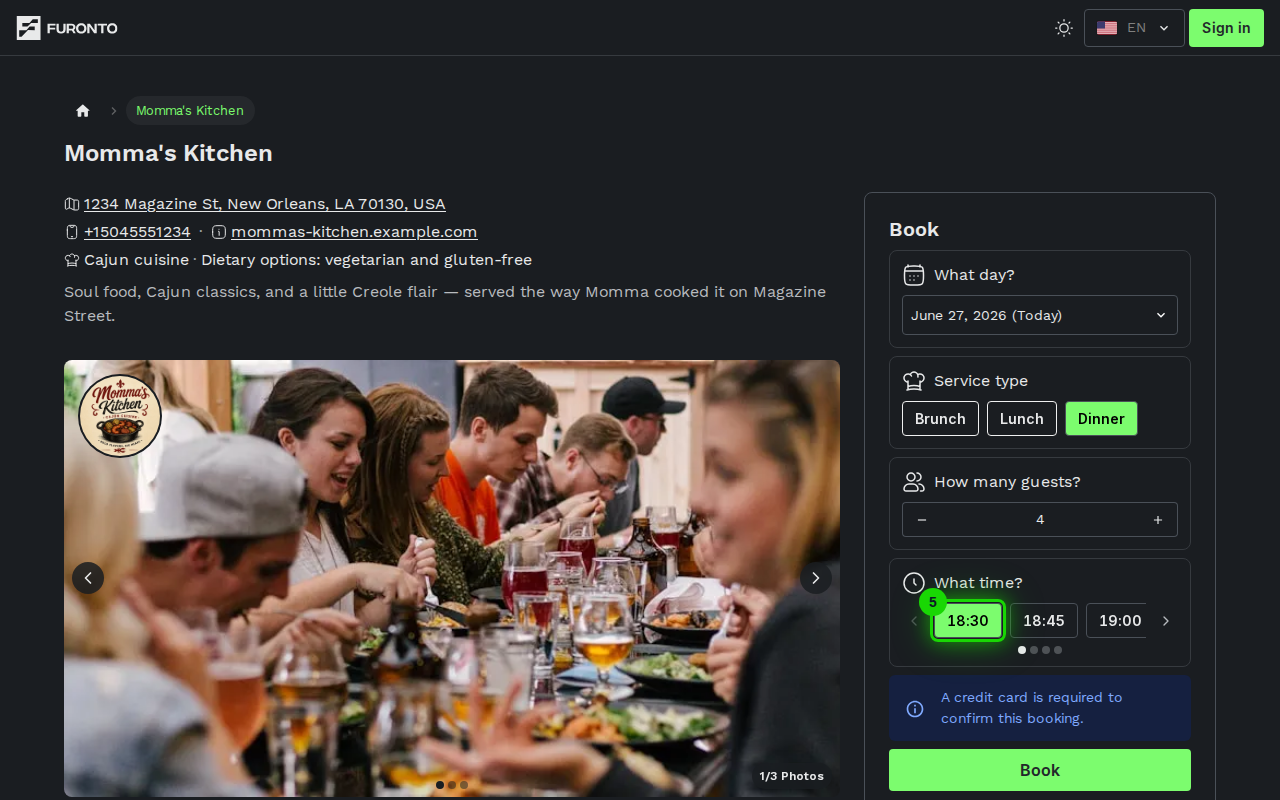
Slots are listed in 24-hour format with hs appended (so 20:30hs is 8:30 PM). Times are always shown in the venue's local timezone, not yours — handy if you're booking from another city.
Step 5: Choose menus, extras and quantities (when offered)
Some services and events come with add-ons. They're the last block on the card, just above the Book button, because nearly all of them are counted per guest — the card needs your party size first. Depending on how the venue set them up you'll see:
- Menu groups — a set of options (for example a standard, premium and kids menu) with + and − steppers. Every guest needs a selection, so the quantities across the group must add up to your party size — a live counter shows how many guests are still unassigned. Optional groups can be skipped entirely, but once you start one it must also cover every guest.
- Included items — some add-ons are required by the venue (a tasting glass, a cover charge). They're marked as included and added to the booking automatically.
- Extras — optional add-ons with a quantity stepper, so "two appetizer platters" is one tap away. Some extras have a maximum per booking.
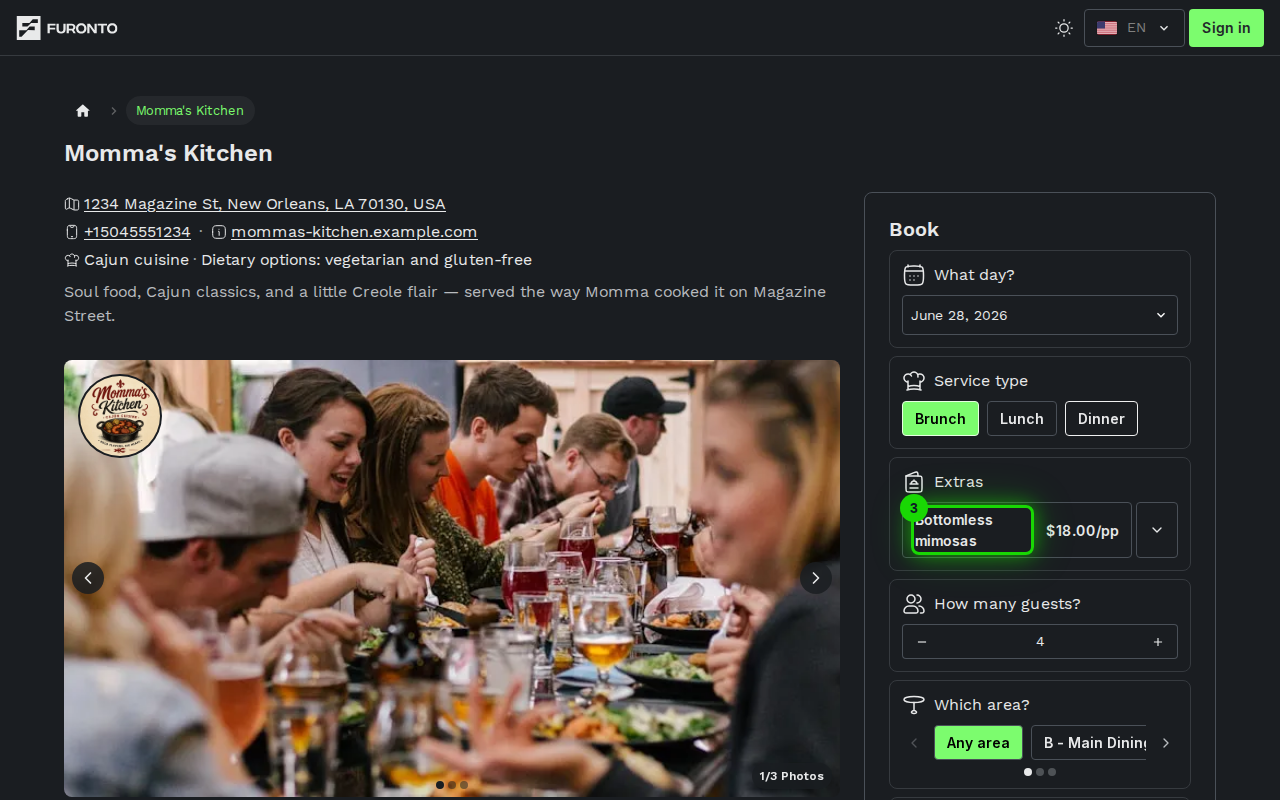
Tap the small chevron next to an add-on to read its description and see the price.
Prices marked with pp are per person and are multiplied by the party size. Other add-ons are charged per unit you select.
If the day you picked is full and the card is offering you the waitlist instead of a booking, the menu and extras aren't shown at all. A waitlist entry only records the venue, the day, your party size, and the service — there's nowhere to attach a menu choice, so the card doesn't ask for one. Pick a day with times available and the menu comes back, with anything you'd already chosen still in place.
The counter reads "N of <your party size>". If you go back up and change the number of guests, the group no longer covers everyone and the Book button locks again — just top the quantities back up to the new number.
Step 6: Tap Book to continue
When all rows are filled in, the green Book button at the bottom of the card lights up. Tap it to move to the confirm step, where you'll review the details, accept the venue's policies, and finalise the booking.
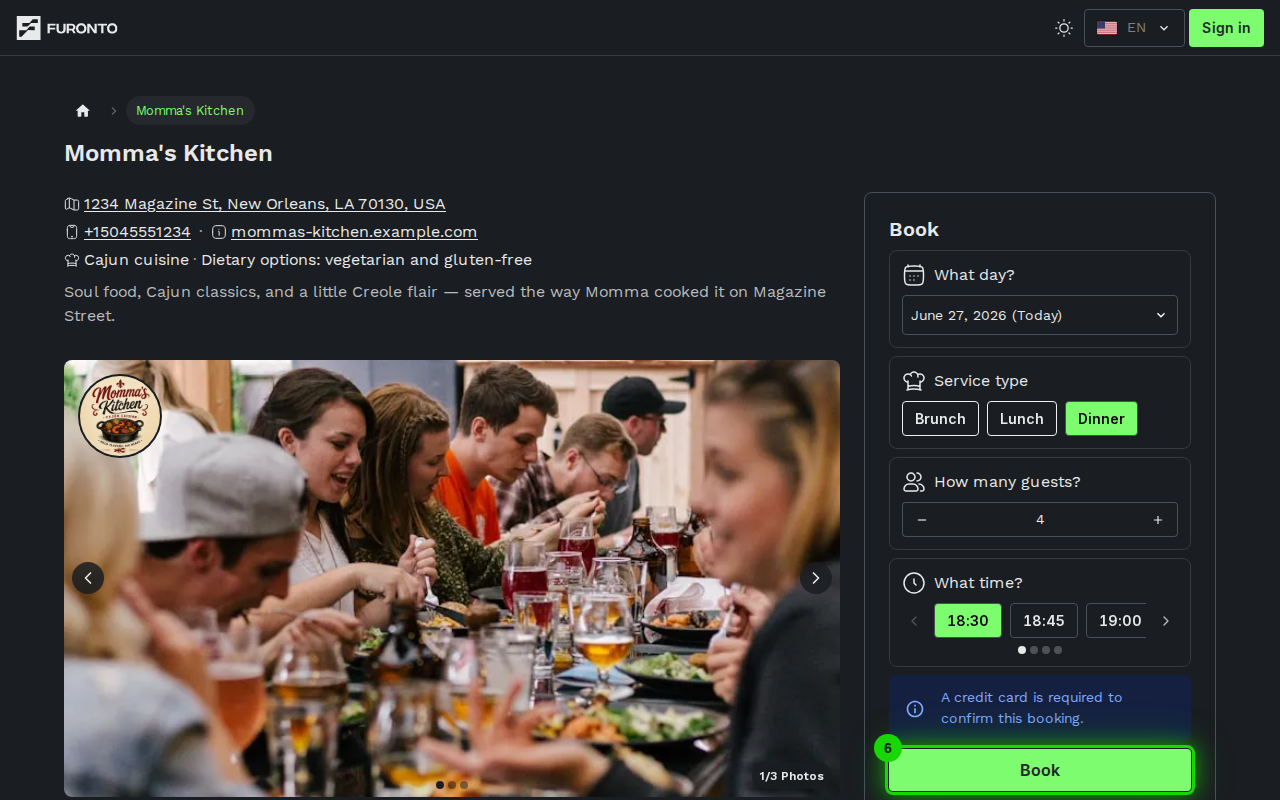
Pressing Book here only carries your choices to the confirmation page. The booking is created after you sign in (or sign up) and confirm on the next step. If you close the tab before then, nothing is saved on the venue's side.
Tips and best practices
- Start with the day — most fields update based on the date, so picking it first avoids a back-and-forth.
- Settle the party size before the menu — the menu quantities have to add up to it, so changing the guest count afterwards means redoing the menu.
- Try a different service if you don't see your time — the card auto-suggests one, but you can also tap through services manually.
- Open menu descriptions before choosing — the chevron next to each menu reveals dietary notes, courses, and the full price breakdown.
- Pick the time that's exactly when you want to sit down — the venue uses this as your arrival time, not the time you walk through the door.
- Don't worry about signing in yet — you can fill in the whole form anonymously and only sign in when you confirm.
Troubleshooting
"No available times for this date"
Solution: The venue is fully booked for the selected day, service, and party size. Try a different day on the calendar, switch service type (Lunch instead of Dinner, for example), or reduce the party size if your group is flexible.
The service type pills are missing
Solution: Either the venue only runs a single service, so there's nothing to pick, or every service for the selected day has already finished. Pick a later date on the calendar and the pills come back.
A service I saw this morning has vanished
Solution: Services drop off the row once their hours are over for the day you're looking at — after lunch service ends, Lunch is no longer offered on that date. It's still there for future dates: move the calendar forward a day. A service that's merely full doesn't disappear, it just goes grey so you can still select it and join the waitlist.
My party size is bigger than the maximum
Solution: Online bookings are limited by the venue's largest table (or the largest group of tables they can combine). For larger parties, use the contact details on the venue profile to call or email the venue directly.
The calendar won't let me pick a date
Solution: Past dates are always disabled, and most venues only open bookings a set number of days in advance. If the date you want is greyed out, it's outside the venue's booking window — try again closer to that date.
I picked everything but the Book button is greyed out
Solution: Double-check that a time is selected (the time slot turns green when picked). If a required menu is shown, you also need to pick one of the menu options before the button becomes active.
Related pages
- Business profile — How to find the venue and its photos, hours, and contact details
- Confirm — Review the details, sign in, and finalise the booking
- My bookings — Manage every booking you've made across venues