Business basic info
Welcome! This is the first step where your business starts to take shape on the platform. Don't worry about getting everything perfect — you can always come back and edit any of these fields later from your dashboard.
New business owners completing setup. This page is part of the initial setup flow and is only available to the owner of the business.
Getting there
After signing in, you'll land on the welcome page of the setup flow. From there, click Start to open the business basic info form.
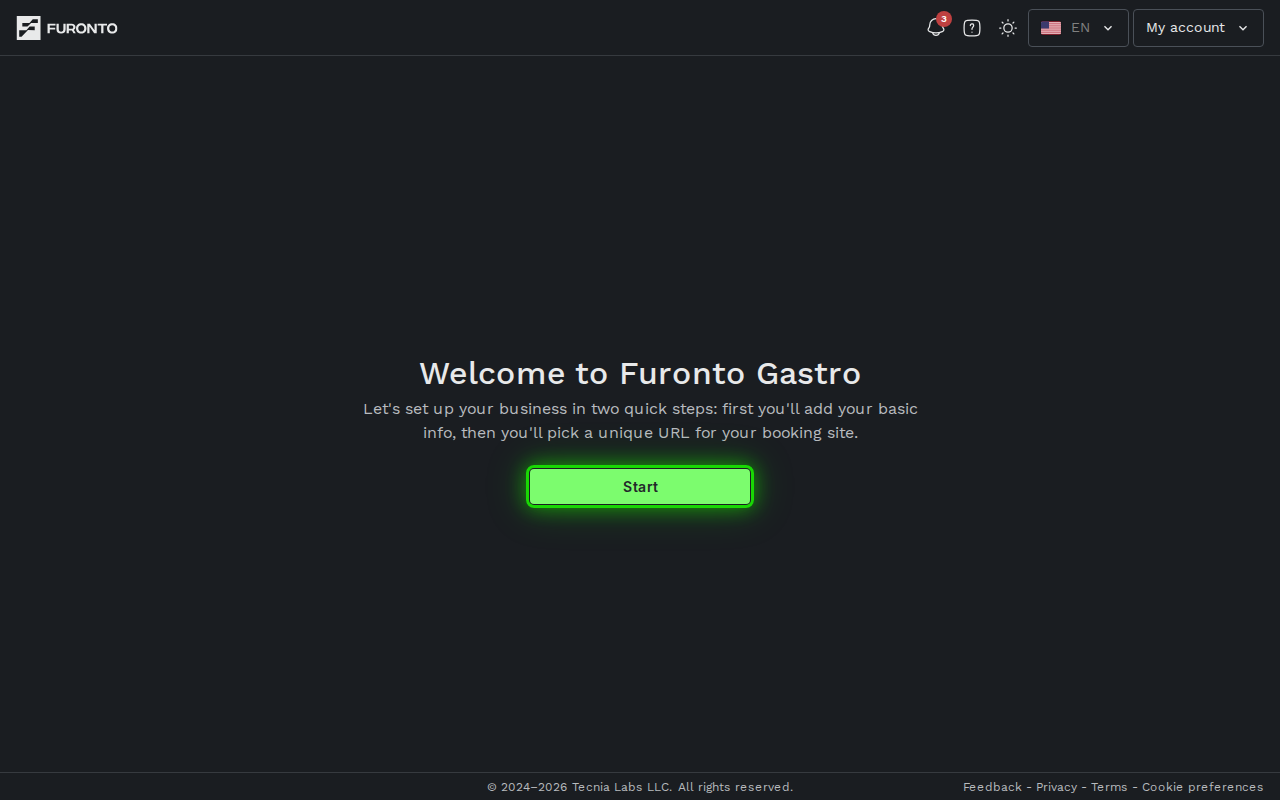
The page lives at /dashboard/[your-business]/setup/business-basic-info. If your business is already fully set up, you'll be redirected to your dashboard home — setup pages are only shown while onboarding is incomplete.
How it works
Step 1: Business name
The first field is the Business name. This is what customers will see when they find you on the platform, so make it clear and recognizable. The name is required to continue.
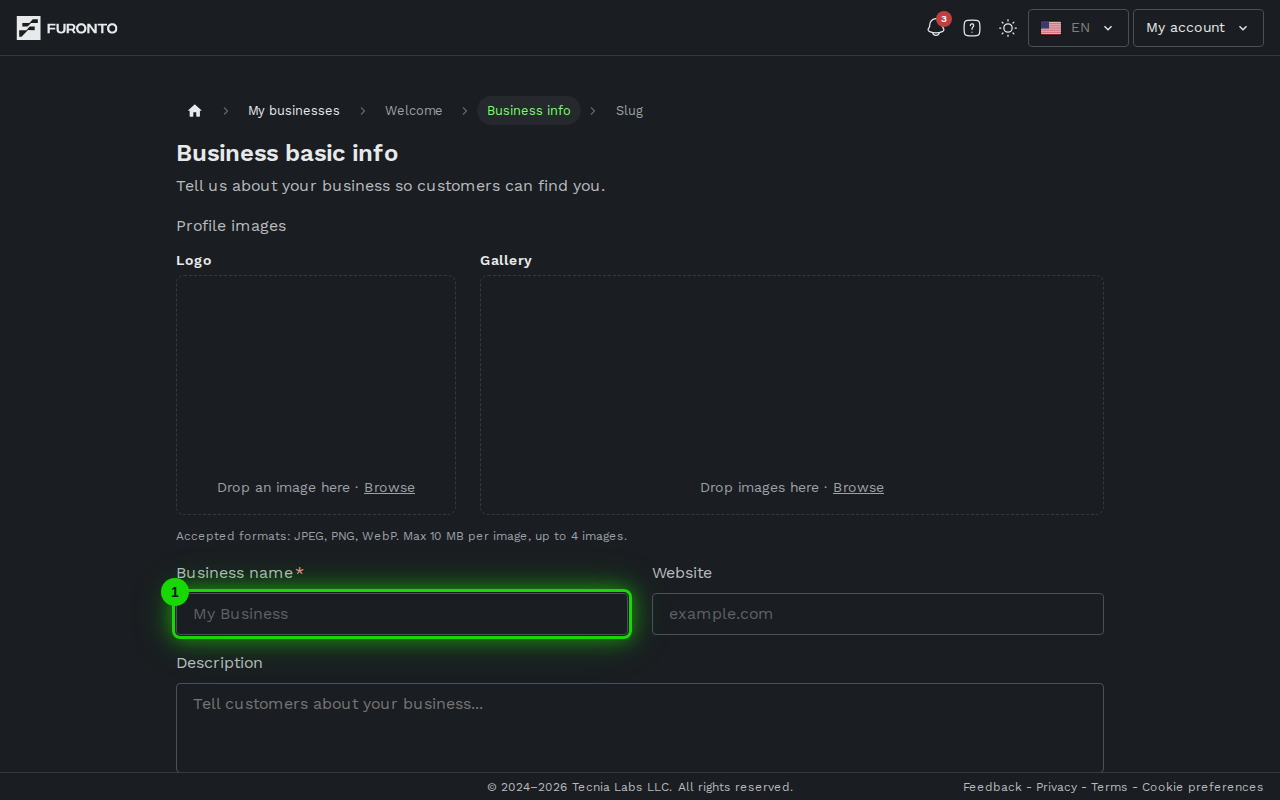
Just use the everyday name people already know your business by. You don't need to add things like "restaurant" or "cafe" — that comes from the cuisine type later.
Step 2: Description
Use the Description field to tell customers what makes your place special. Mention your specialty, your atmosphere, or what sets you apart. A character counter on the right helps you keep it concise.
Above it, Language of your texts tells us which language you write your description, services and notices in. It starts on the language you are using the app in; change it if you write for your customers in another one. You can change it later from your profile.
You can leave this empty for now and fill it in later from your business profile page.
Step 3: Address
Click the Address search bar and start typing your street address. As you type, a list of suggestions powered by Google Maps will appear — select the one that matches your business.
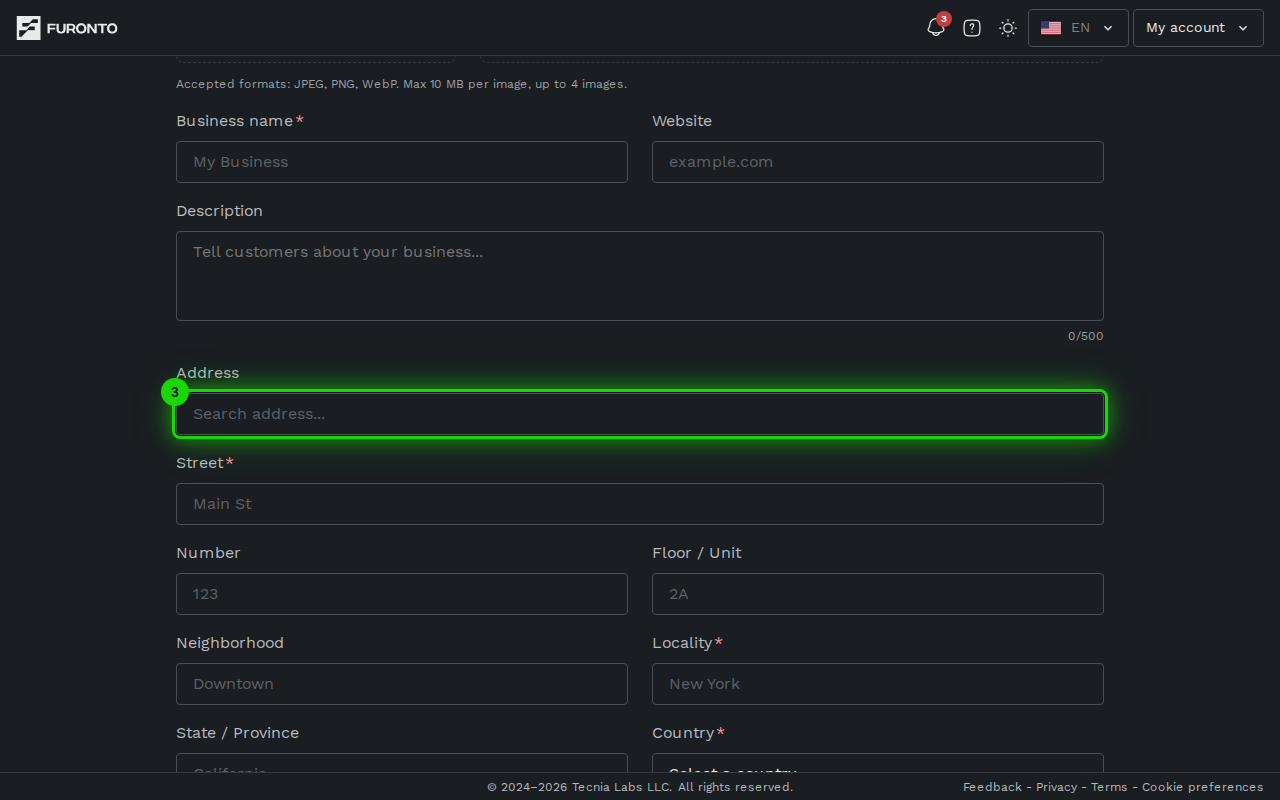
Once you select an address, the Street, Locality, Country, and Postal code fields below are filled in automatically. Street, locality, and country are required.
When you select an address, the Timezone is detected automatically from your location. You can still change it manually from the dropdown if needed.
Your address is used to locate your business on the platform and to set the timezone for your booking calendar. Take a moment to confirm everything looks right before moving on.
Step 4: Contact info
The form also asks for a few more details:
- Website — The URL of your website, if you have one (near the top, next to the business name). You can just type
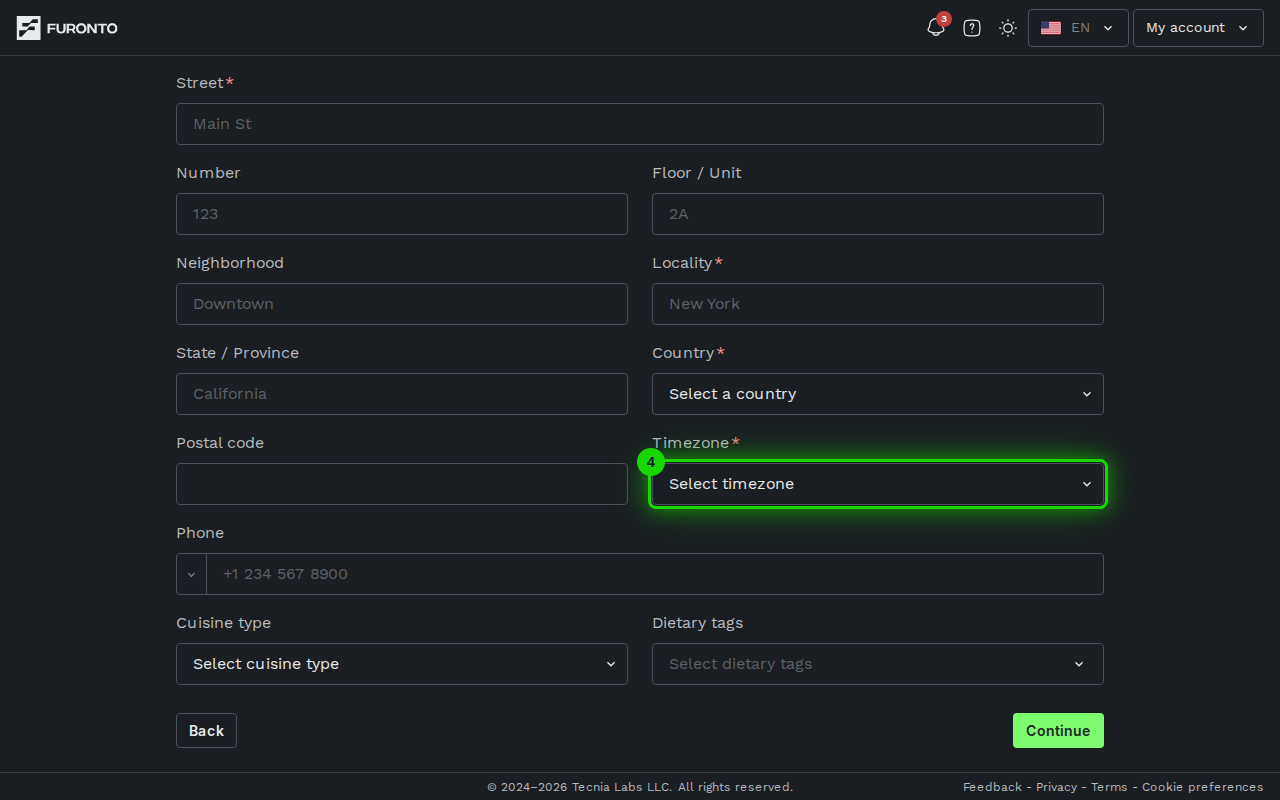
example.com. - Timezone (required) — Usually filled in automatically from your address. If empty, pick the closest one from the dropdown.
- Phone — Your business phone number. The country code is detected from your address automatically.
Step 5: Business type
Two final dropdowns help customers find you:
- Cuisine type — Pick the option that best describes what you serve.
- Dietary tags — Select any options your business caters to (vegetarian, vegan, gluten-free, and so on). You can pick multiple.
You can also upload a Logo and Gallery images at the top of the form, but these are entirely optional during setup — most owners come back to add them later.
Step 6: Save and continue
When everything looks good, click the Continue button at the bottom right of the form. Your data is saved as a draft on this device, and you'll move on to the next step where you choose the URL for your business.
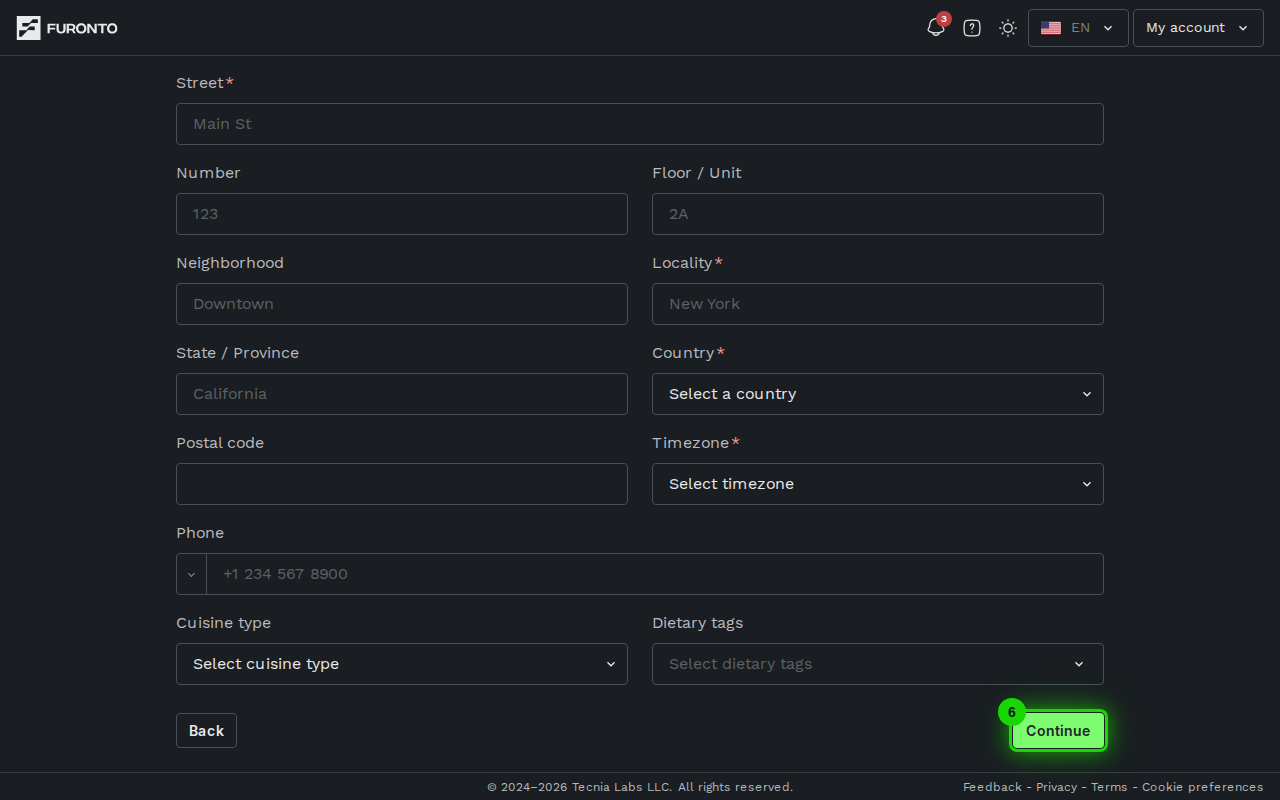
If you want to step back to the welcome screen, click Back on the left — your data stays saved as a draft.
Tips and best practices
- You can change everything later. Every field on this form is editable from your business profile page once setup is finished. There's no pressure to get it perfect right now.
- Take a minute on the address. A correct address means a correct timezone, and a correct timezone means your booking calendar shows the right times.
- Keep the description short. Customers scan quickly. Two or three sentences about what makes your place special works better than a long paragraph.
- Skip the images for now if you don't have them ready. They're optional at this step — adding them later from the profile page is just as easy.
Troubleshooting
My address isn't showing in the suggestions
Solution: Try typing the street name on its own first, then the city. If your address is brand new and Google hasn't indexed it yet, fill in the Street, Locality, Country, and Postal code fields by hand below the search bar — that works too.
I'm getting an unsaved-changes warning
Solution: This warning appears when you try to leave the page after editing a field, before clicking Continue. Click Continue to save your draft and move forward, or click Back if you'd rather discard the latest edit and return to the previous step.
The timezone didn't fill in automatically
Solution: Sometimes the timezone lookup takes a second or fails silently. Just open the Timezone dropdown and pick the one closest to your business — it's required to continue.
The Continue button doesn't do anything
Solution: Scroll up and look for any field with a red error message. Required fields (business name, street, locality, country, timezone) all need to be filled in before you can move on.
Related pages
- Choose your URL — The next step: pick the slug customers will use to find you
- Dashboard home — Where you land once setup is finished