Business profile
This is where you shape how your business appears to customers. Everything you enter here — your name, photos, description, address, and tags — is what people see when they find you on the platform.
Business owners and managers. You need to be a member of the business, with owner or manager access, to open this page.
Getting there
From your dashboard, click Business profile in the left sidebar, under Configuration.
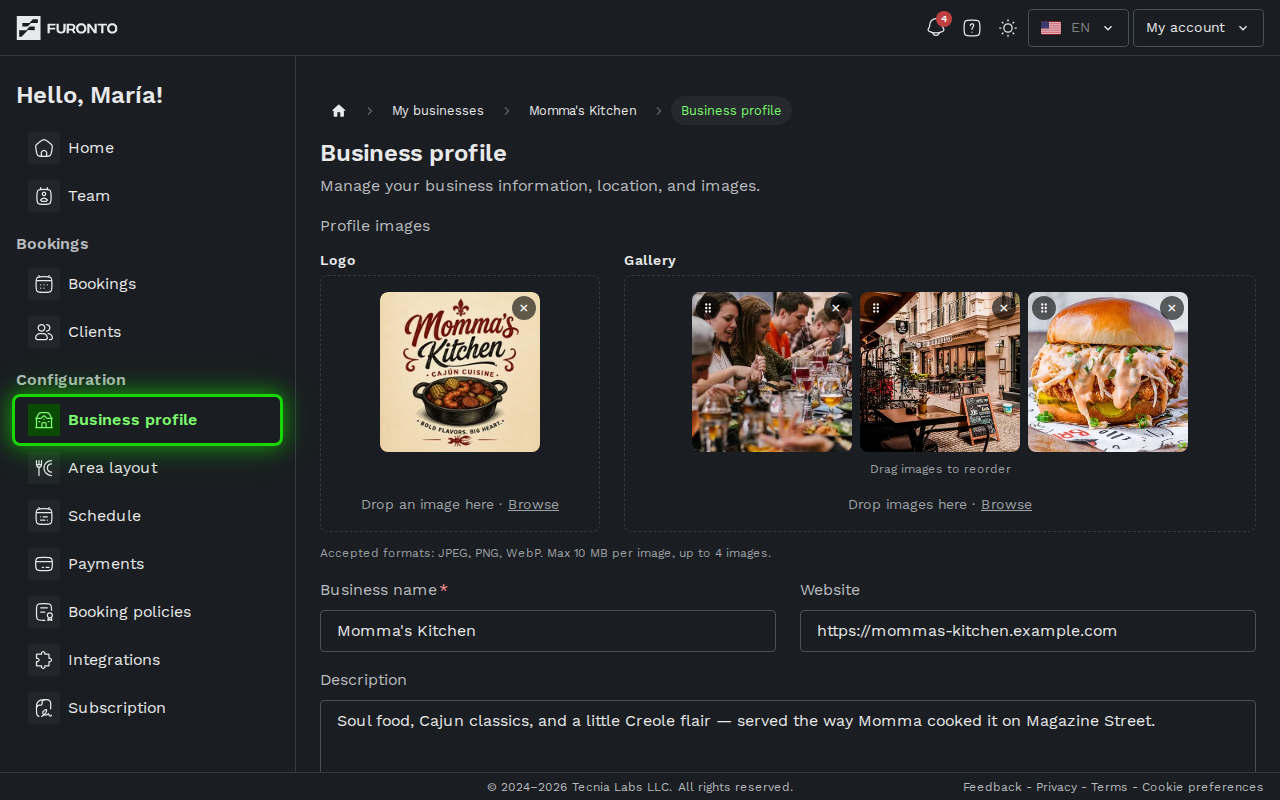
You need to be signed in and have access to the business.
How it works
The page is one long form, from your images at the top down to a Save changes button at the bottom. Work through it top to bottom — and keep one thing in mind as you go:
Your logo and gallery images save the moment you upload, remove, or reorder them — there's no separate step for them. Every other field (name, description, address, phone, and tags) is only saved when you click Save changes at the bottom.
Step 1: Add your logo and gallery images
At the top of the page you'll see two image areas:
- Logo — your brand image, shown next to your business name across the platform. Click the upload area to pick an image from your device.
- Gallery — photos that show customers what your space looks like. You can upload up to 4 images.
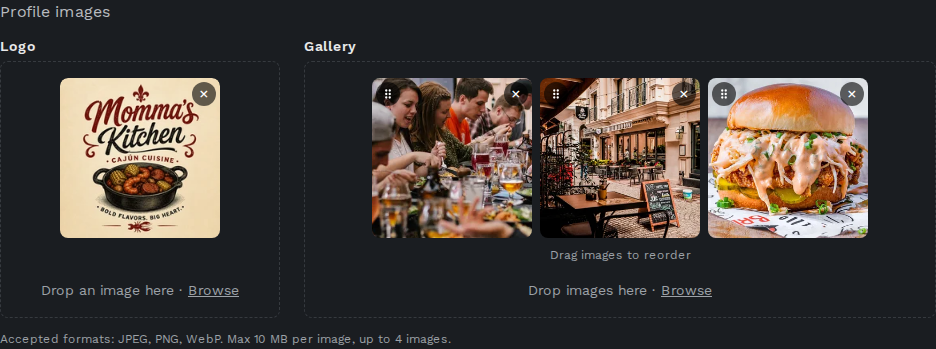
Drag your gallery images to reorder them — the first one is the most prominent photo customers see. To remove an image, hover over it and click the delete button that appears.
Accepted formats: JPEG, PNG, and WebP, up to 10 MB per image and 4 gallery images in total.
Step 2: Fill in your name, website, and description
Below the images are your core identity fields:
- Business name (required) — the name customers see. Make it clear and recognizable.
- Website — your site address, if you have one. Just type it like
example.com. - Description — tell customers what makes your business special. A character counter helps you keep it concise.

A good description helps customers choose you. Mention your specialty, atmosphere, or what sets you apart — short and inviting beats long and detailed.
Writing for customers who read another language
Your booking page is available in English, Spanish and Portuguese, and customers see it in their own language. The text you write — your description, your service names, your add-ons, your booking notice — stays exactly as you typed it unless you translate it yourself.
Every one of those fields has a language switch above it. The first button is the language you write in; the others are translations you can add:
- Leave a translation empty and customers reading that language see your original text. Nothing is hidden, and you never have to fill in a language you don't speak.
- Add one and those customers see your words instead. A hollow dot on a language means a field on this form still has no translation in it; it goes away once every field is translated.
- Language of your texts (under your description) tells us which language you write in. Changing it relabels what you already wrote — it does not translate it.
If you later edit the original, translations you wrote earlier are marked Outdated under the field, and the language gets an amber dot on the switch, so you can check them. Customers keep seeing them in the meantime, and Still accurate clears the mark in one click when the change didn't affect them.
Step 3: Set your address and timezone
Click the address search box and start typing your address. A list of suggestions appears — pick the one that matches.
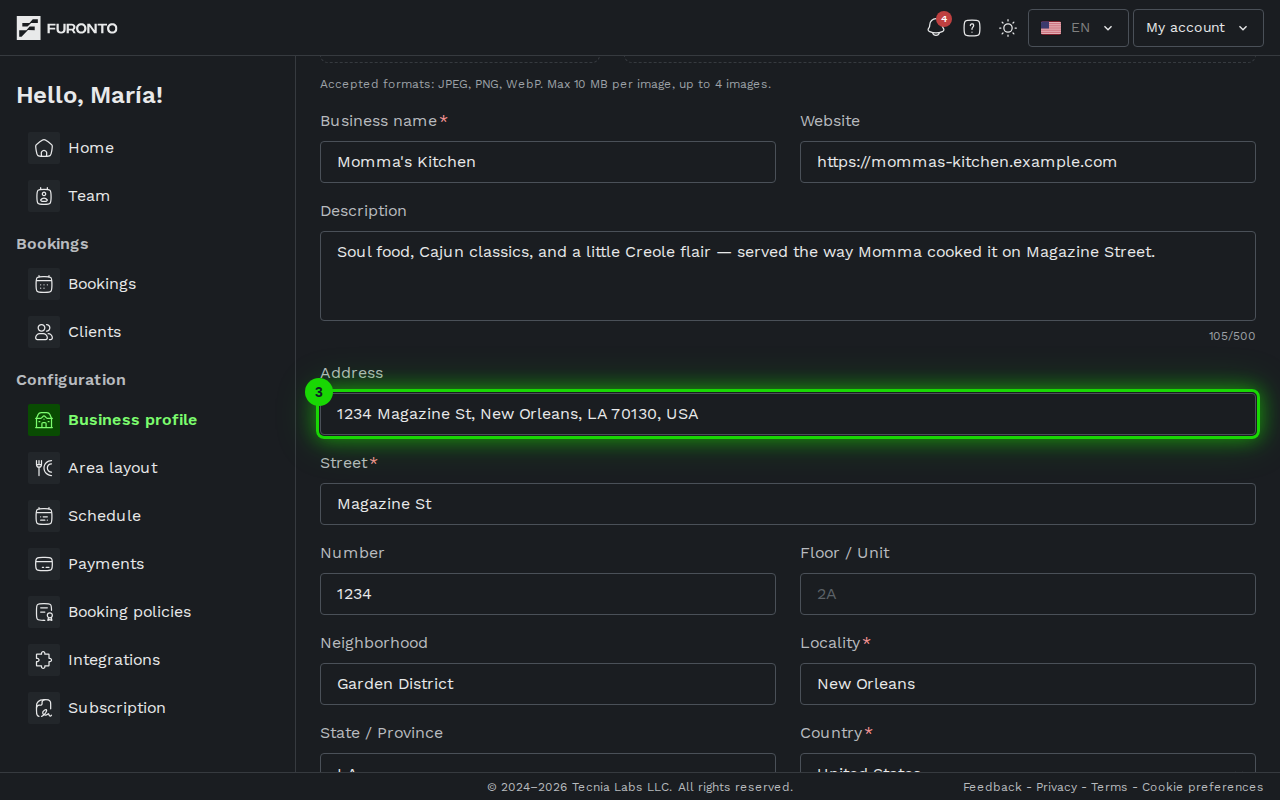
Once you select an address, the fields below fill in automatically — street, number, neighborhood, locality, state, country, and postal code. Street, locality, and country are required; the rest are optional. Your timezone is also set for you, right below the address, based on the location you picked.
You can fine-tune any of the filled-in fields by hand, and you can still change the timezone from its dropdown if it isn't quite right.
Your address is shown to customers and used to place your business on the platform, and your timezone decides what times your booking availability lands on. Make sure both are accurate.
Step 4: Add your phone, cuisine, and dietary tags
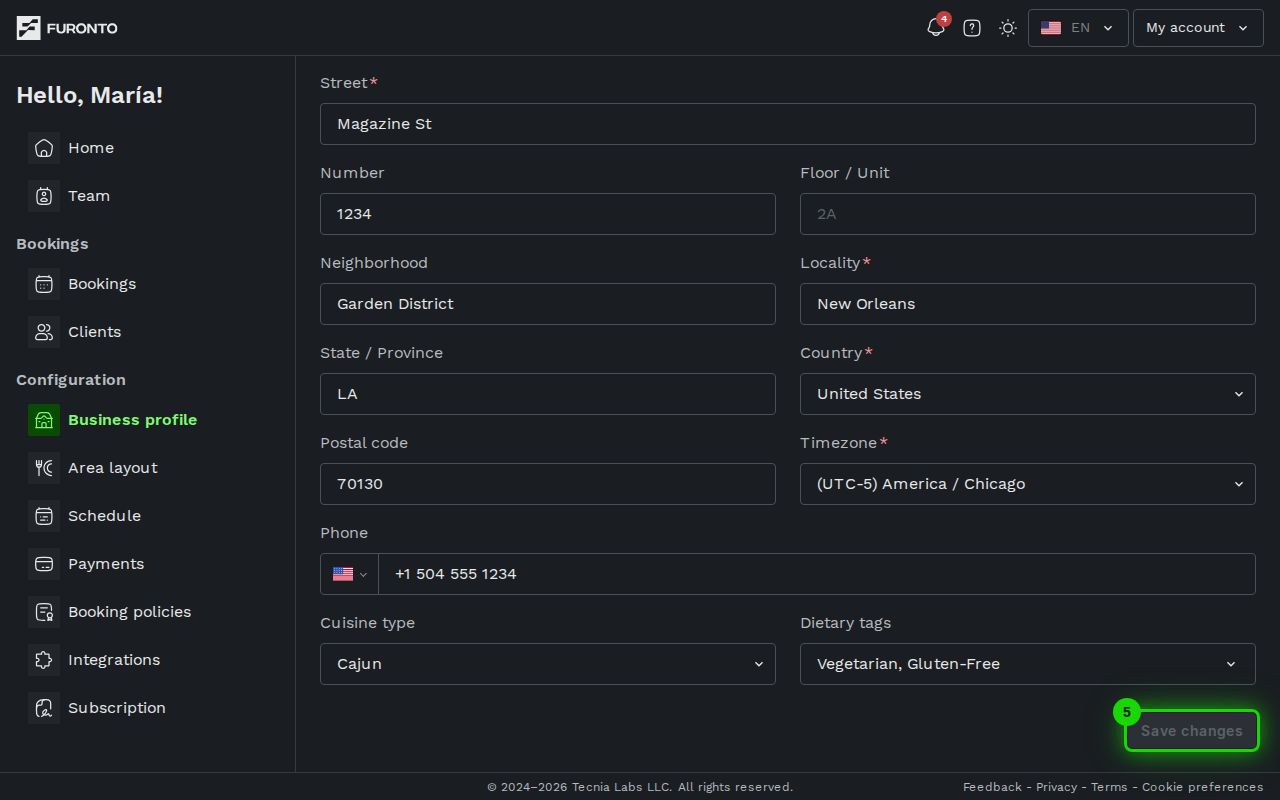
- Phone — your business phone number. The country code is detected automatically from your address.
- Cuisine type — the kind of food or service you offer, so customers can find you when browsing.
- Dietary tags — pick any options your business caters to, like vegetarian or gluten-free. You can select more than one. These help customers with dietary needs know you're a good fit.

Step 5: Save your changes
When you've edited any of the text fields, the green Save changes button at the bottom becomes active. Click it to save everything in one go. You'll see a confirmation message once it's done.
If you try to leave the page with unsaved field changes, you'll get a warning so you don't lose them. (Your images are already saved, so they're never at risk.)
Tips and best practices
- Upload a logo first — businesses with a logo look more professional and trustworthy, and it shows up everywhere your business appears.
- Use bright, high-quality gallery photos — they're the first impression of your space. Put your best shot first.
- Keep your description to 2-3 sentences — customers skim, so a short, compelling pitch performs better than a long one.
- Verify your address and timezone — an accurate address helps customers find you, and the right timezone keeps your booking times correct.
- Tag honestly — only add dietary tags you can genuinely accommodate, so customers who rely on them aren't disappointed.
Troubleshooting
My timezone is wrong
Solution: If the timezone didn't update when you entered your address, choose the correct one from the Timezone dropdown (right below the address) and click Save changes.
I can't upload an image
Solution: Make sure the file is a JPEG, PNG, or WebP under 10 MB, and that your gallery isn't already at 4 images. If it still won't upload, try a different browser or clear your cache.
The save button is grayed out
Solution: The button only lights up when you've changed one of the text fields. If you've only added or removed images, those save on their own — there's nothing left for the button to do. Edit a field and it will activate.
Related pages
- Business profile (public) — See how customers view the profile you build here
- Area layout — Arrange your tables and seating areas
- Schedule — Set up your services and availability