Dashboard home
This is the first page you land on when you open your business dashboard. It's your starting point — a quick way to finish setting up, share your booking link, control whether customers can find you, and keep an eye on how your bookings are doing.
Everyone on your team. Owners get the full picture: a setup checklist, the publish switch, your booking link, and your numbers. Managers and staff see your booking link and your numbers, so they can stay on top of how things are going.
Getting there
Home is where you arrive after you sign in and open a business. To come back to it from anywhere in the dashboard, click Home at the top of the left sidebar.
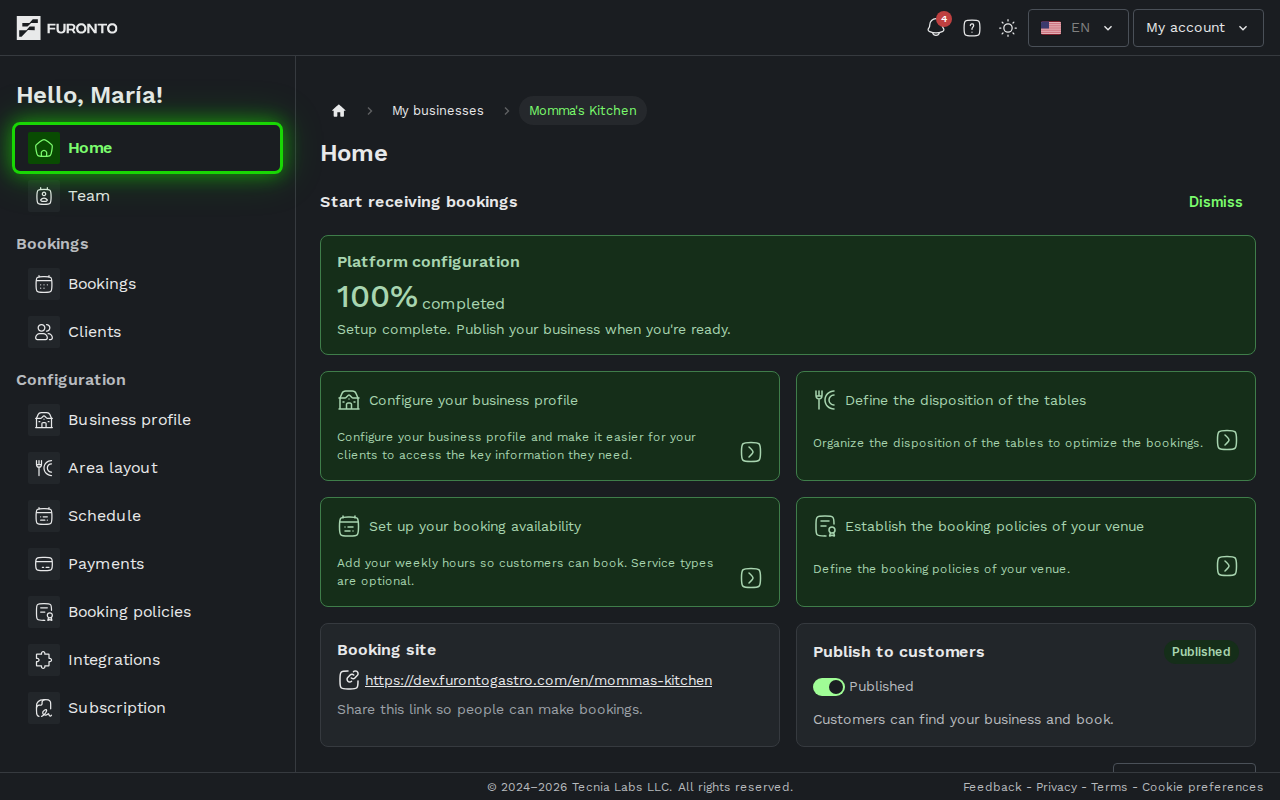
You need to be signed in and have access to the business.
How it works
The page is split into a few simple areas. At the top is your setup checklist, then your booking link and publish switch, and at the bottom a summary of your booking numbers. Here's what to do with each.
Step 1: Finish setting up your business
When you're new, the Start receiving bookings checklist shows how far along you are. The big number tells you what percentage of your setup is done, and the four cards below are shortcuts to the things still worth doing: your business profile, your area layout, your booking availability, and your booking policies.
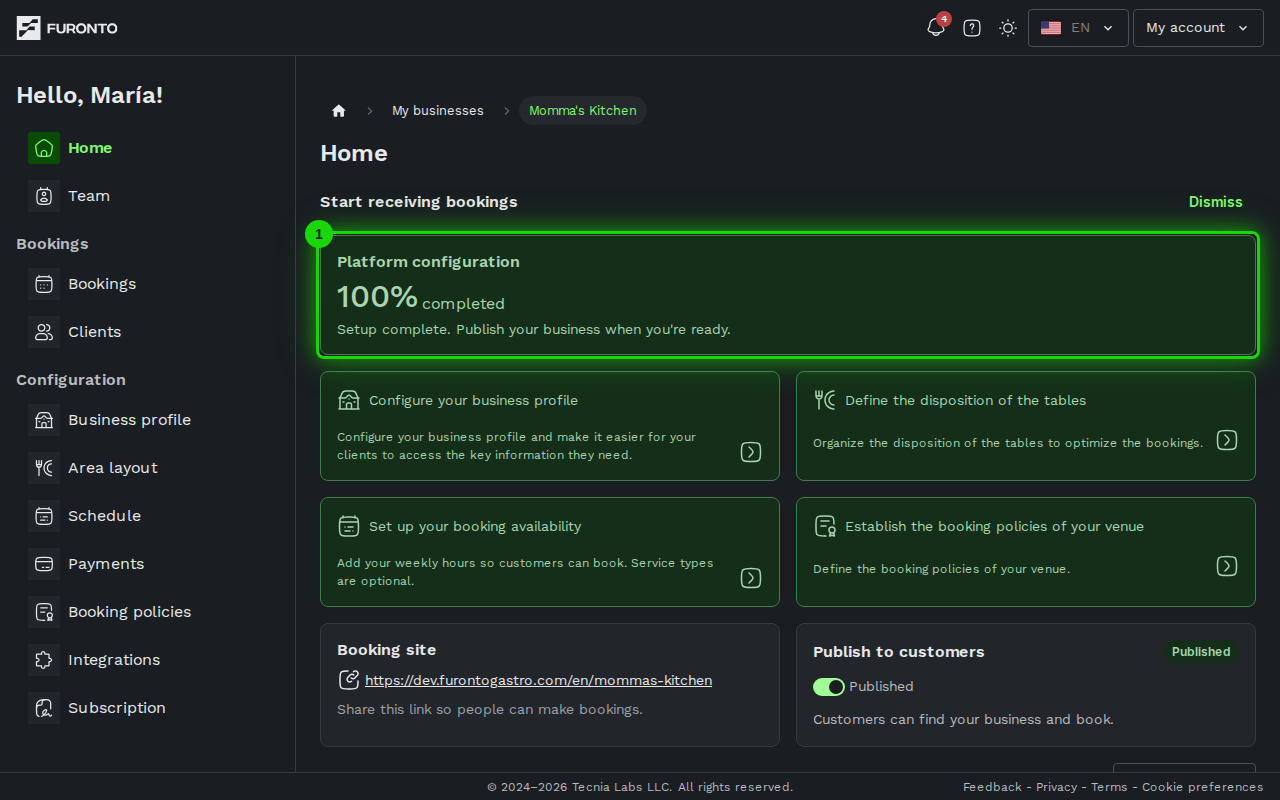
Click any card to jump straight to that part of your setup. As you complete each one, its card turns green so you can see at a glance what's left.
Once everything reads 100%, a Dismiss link appears in the top-right of the checklist. Click it to tidy the page and hide the checklist for good — you can always reach those same pages from the sidebar.
Step 2: Share your booking link
The Booking site card shows the public web address where customers book with you. Click the link to copy it to your clipboard, then paste it anywhere your customers will see it — your Instagram bio, your WhatsApp, your Google listing, or a printed QR code by the door.
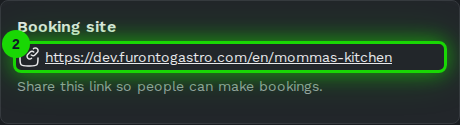
This is the single most useful link to hand out. Anyone who opens it can check your availability and book without creating anything first — no app to download.
Step 3: Publish your business to customers
The Publish to customers switch controls whether your business is visible to the public. When it's on, customers can find you and book; when it's off, your business is hidden from search and your booking page.
While you're unpublished, no one can find your business or make a new booking. Bookings you already have stay safe — but new ones stop until you publish again.
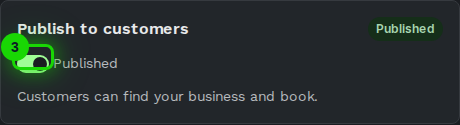
You can only publish once your setup reaches 100%. Until then the switch stays locked with a reminder to finish setting up. This makes sure customers never land on a half-finished booking page.
You don't have to publish to find out what your page looks like. Open your booking link while you're still unpublished and you'll see the real page, exactly as customers will, with a note at the top reminding you it isn't published yet. Anyone on your team can do this — owners, managers, and staff. Everybody else still gets a "page not found".
Bookings you make from that page are real bookings, so if you're only testing, cancel them afterwards from Bookings.
Step 4: Keep an eye on your numbers
The At a glance section at the bottom gives you a quick read on your bookings: how many you've taken, how many people that adds up to, and how they break down by status. Use the dropdown in the top-right to switch the time range — past ranges like last week, the current period, or what's coming up.
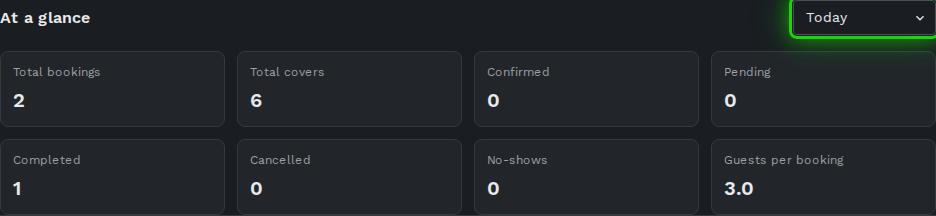
Total bookings is how many bookings fall in the range, and Total covers is the total number of people across them. Confirmed, Pending, Completed, Cancelled, and No-shows break those bookings down by status, and Guests per booking is the average party size.
Tips and best practices
- Finish setup before you publish — A complete profile, a clear layout, real availability, and sensible policies make for a booking page customers trust.
- Put your booking link everywhere — The easier it is to find, the more bookings you'll get. Bio links, WhatsApp, Google, and a QR code at the entrance all work well.
- Check "At a glance" with a future range — Switch the dropdown to next week to see what's coming up and plan your staffing.
- Unpublish during a long closure — If you're closing for renovations or holidays, turning off the publish switch is a clean way to pause new bookings without losing anything.
- Use the shortcuts, not just the sidebar — Early on, the setup cards point you to exactly what's missing, which is faster than hunting through the menu.
Troubleshooting
The publish switch won't turn on
Solution: Your setup isn't at 100% yet. Open the Start receiving bookings checklist at the top of the page and finish any card that isn't green — usually your profile, availability, or policies. Once everything's complete, the switch unlocks.
I don't see the setup checklist
Solution: Two reasons are common. Either you've already dismissed it (it hides once you reach 100% and click Dismiss), or you're a manager or staff member rather than the owner — the checklist and publish switch are owner-only. You can still reach every setup page from the sidebar.
My "At a glance" numbers look empty
Solution: There are simply no bookings in the range you've selected. Try a wider range like this month or this year using the dropdown. If you've just started, the numbers fill in as bookings come through.
The booking link didn't copy
Solution: Click the link text directly — you'll see a brief "Link copied" confirmation. If nothing happens, your browser may be blocking clipboard access; in that case, select the address manually and copy it.
Related pages
- Business profile — The first setup card: your name, contact details, and photos
- Area layout — Design your floor plan so the system can assign tables
- Schedule availability — Set the hours and services customers can book
- Booking policies — Advance-booking windows and cancellation rules
- Bookings — Open and manage the individual bookings behind your numbers