Payments
This is where you connect a payment provider (Stripe or Mercado Pago) and decide the default payment rules for your bookings — the default amount and how long before a booking a customer can still cancel for free.
Business owners and managers who want to protect against no-shows — by asking customers to back their booking with a card and charging a fee if they cancel late or don't show up. You need owner or manager access to open this page.
Getting there
From your dashboard, click Payments in the left sidebar, under Configuration.
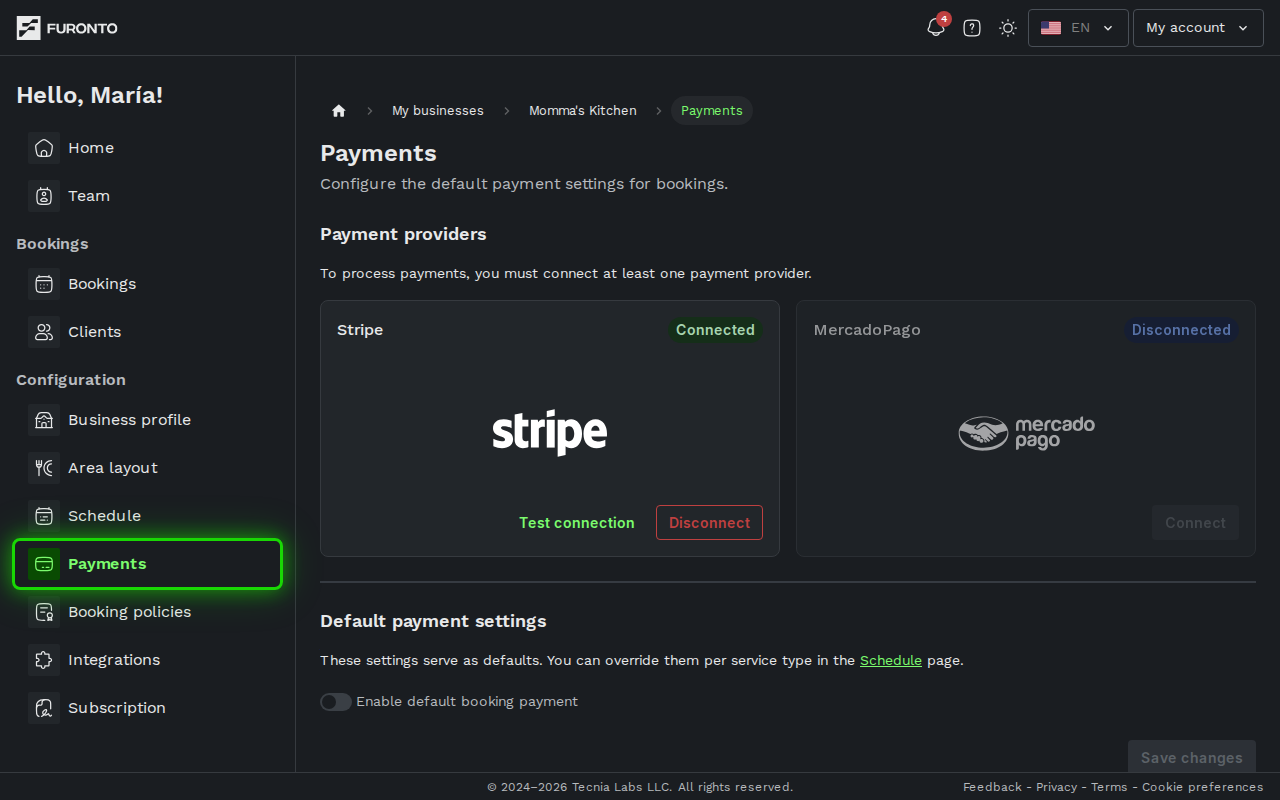
You need to be signed in as an owner or manager of the business.
How it works
The page has two sections. The first is where you connect a payment provider so we can process charges on your behalf. The second is where you set the default payment rules that apply across your entire business. You can still override these per service type later on the Schedule page.
Step 1: Connect a payment provider
At the top of the page you'll see two cards side by side: Stripe and Mercado Pago. Each card shows a status badge (Disconnected, Pending, Connected, or Error) and a Connect button.
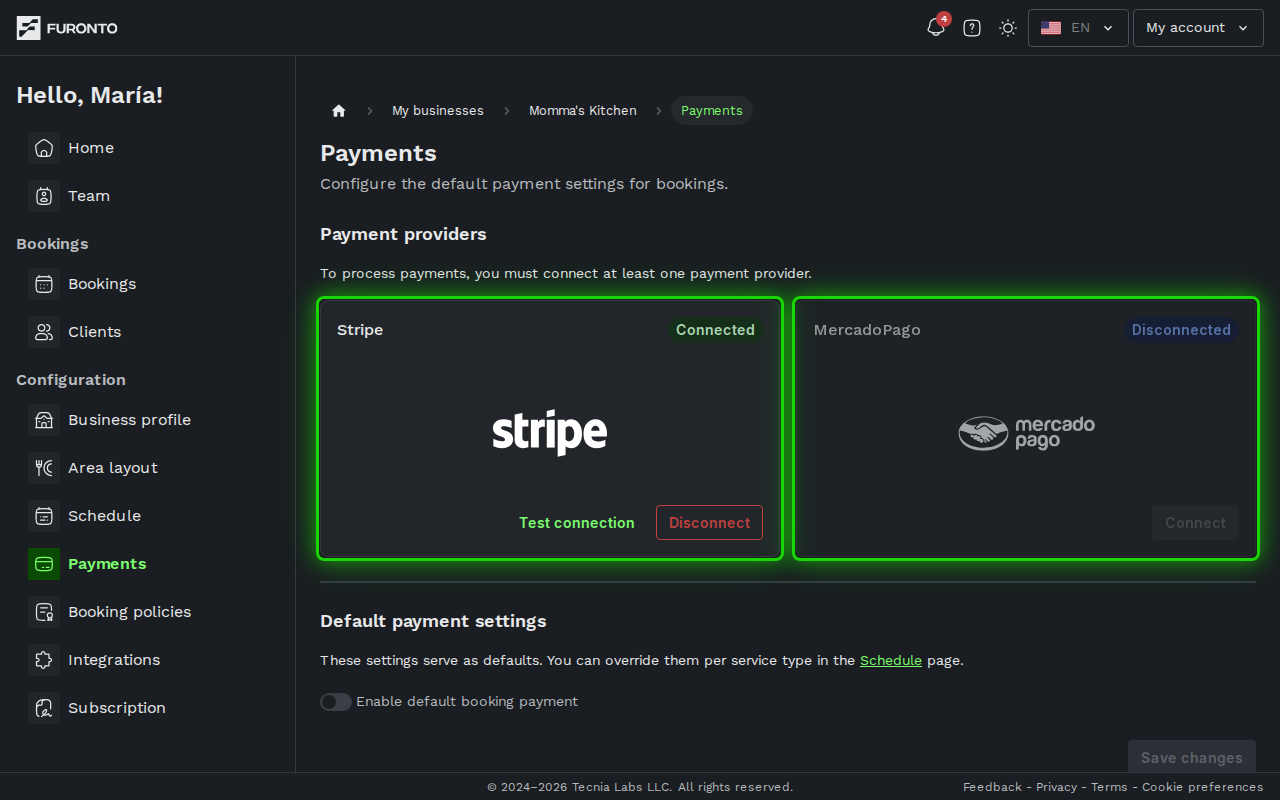
Pick the one that works best for your country and click Connect. We'll redirect you to the provider's own website, where you'll sign in with your existing account or create a new one. When you finish, the provider sends you back to this page and the status badge flips to Connected.
If you already accept payments through Stripe or Mercado Pago in another system, use the same account — you don't need to create a new one.
You can only have a single provider connected at any moment. If you want to switch from Stripe to Mercado Pago (or the other way around), disconnect the active one first. While one is connected, the other card is grayed out.
Step 2: Verify the connection works
Once the status badge shows Connected, you'll see two new buttons on the card: Test connection and Disconnect. Click Test connection to confirm everything is working.
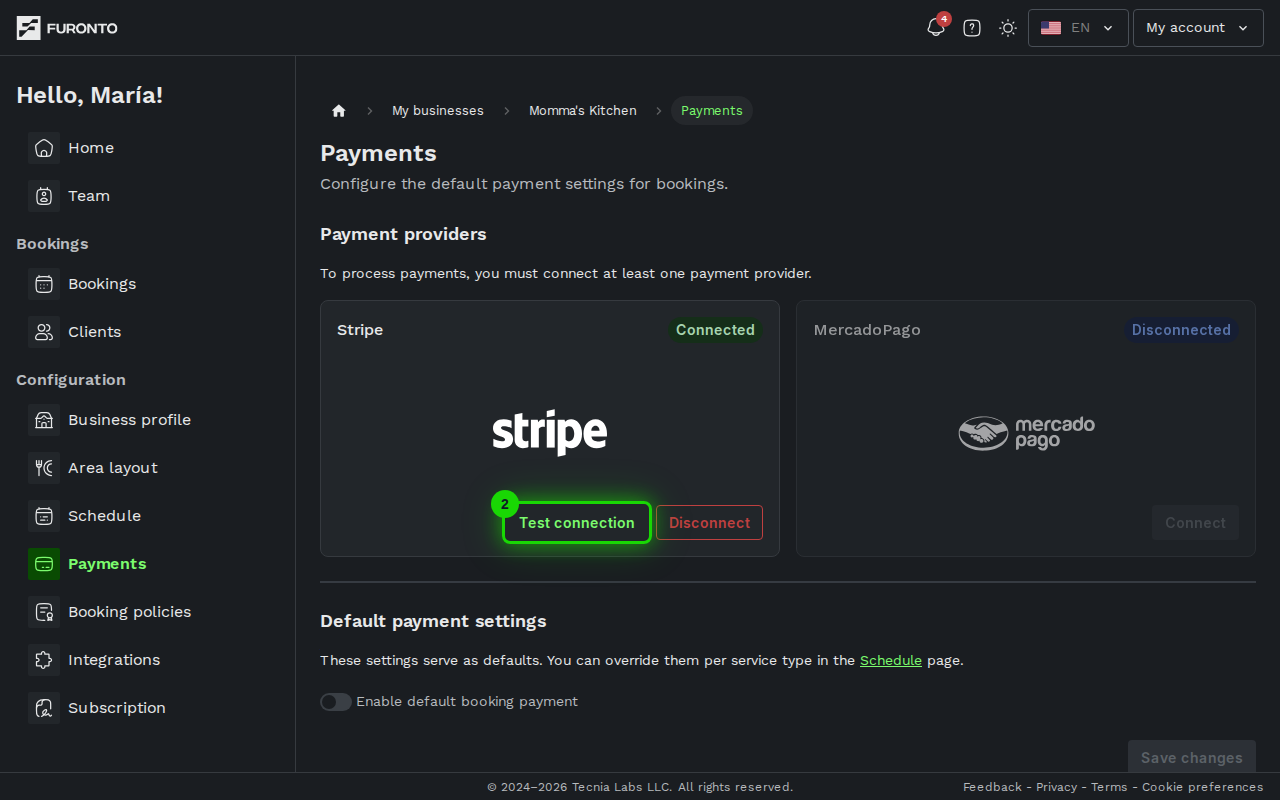
If the test succeeds, a confirmation message appears. If it fails, your connection expired or something changed on the provider's side — click Reconnect to refresh it.
Your linked account email appears right below the provider name on the card, so you can always tell which account you're using.
Step 3: Enable default booking payments
Below the provider cards you'll find the Default payment settings section. The big switch at the top turns default payments on or off across your entire business.
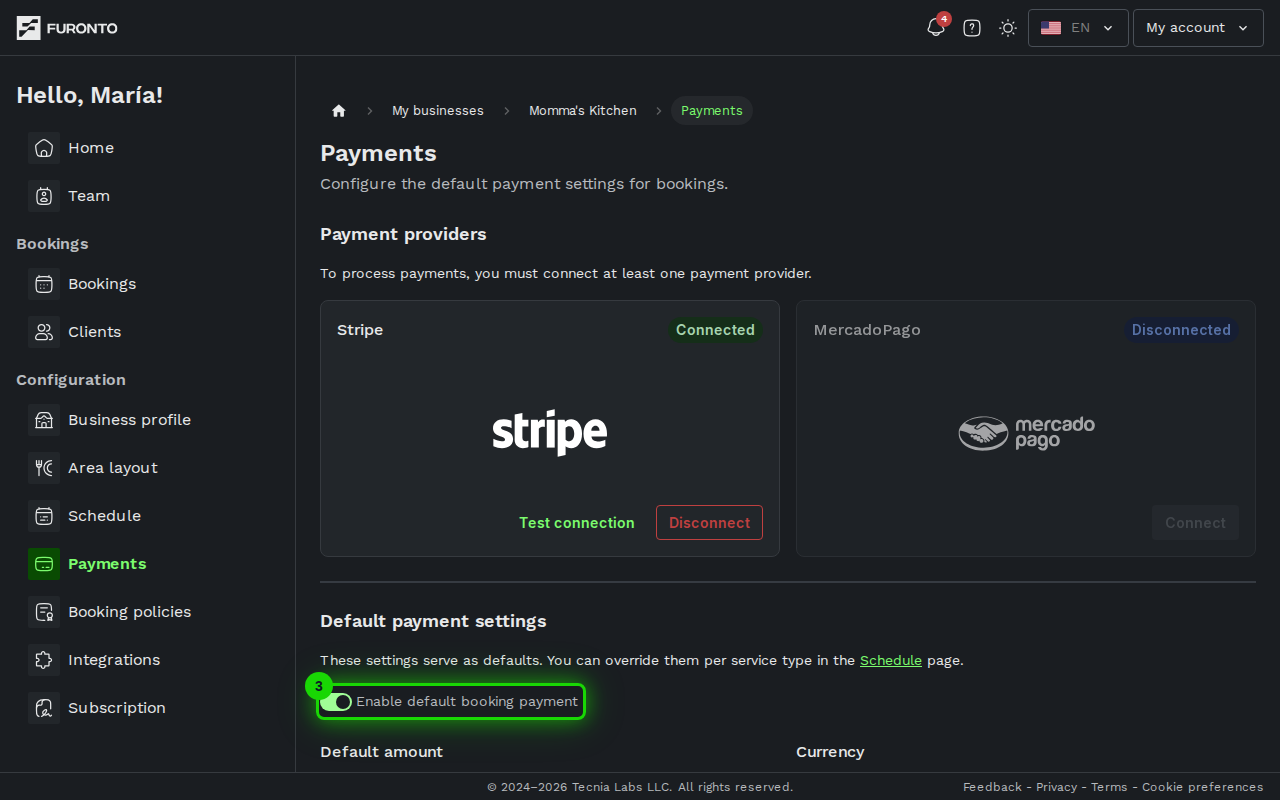
Flip it on to reveal the configuration fields underneath.
The switch stays disabled until you've connected a payment provider in Step 1. That's by design — without a provider, there's nothing to charge through.
Step 4: Set your default amount
Two fields sit side by side:
- Currency: there's nothing to pick. The amount field shows the currency next to the number (for example USD), with "Charged in US dollar (USD), set by your Stripe account" under it. Every price at your business is in the currency your connected payment account charges in, and it's set when you connect the account.
- Default amount — the guarantee amount tied to each booking. Customers aren't charged upfront: they're only charged this if they cancel after the free window (Step 5) or don't show up. Think of it as a no-show guarantee, not a deposit.
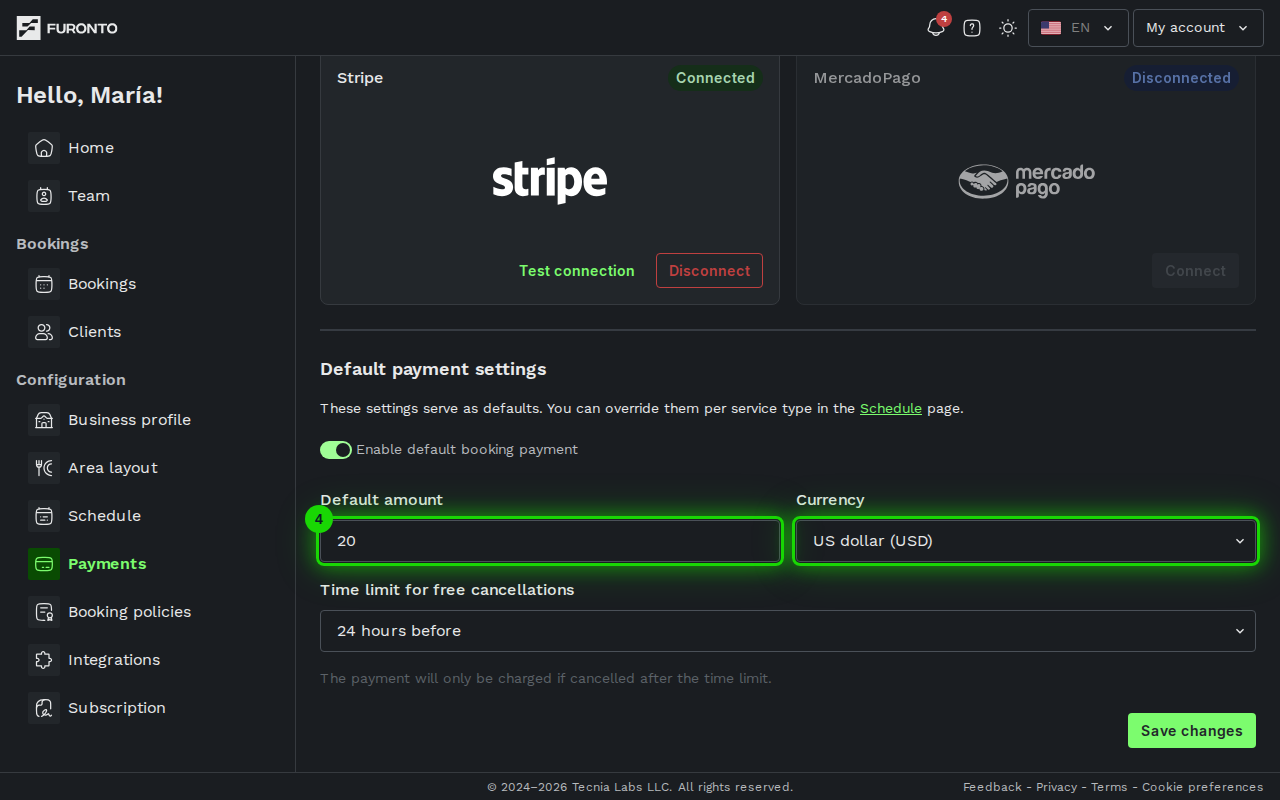
These are just the defaults. On the Schedule page you can override the amount (or turn payment off entirely) for specific service types, like charging extra for weekend dinners or waiving it for lunch.
Step 5: Choose the free cancellation window
The last field is Time limit for free cancellations. Pick how long before the booking starts a customer is still allowed to cancel without being charged. Options range from 1 hour to 48 hours before the booking.
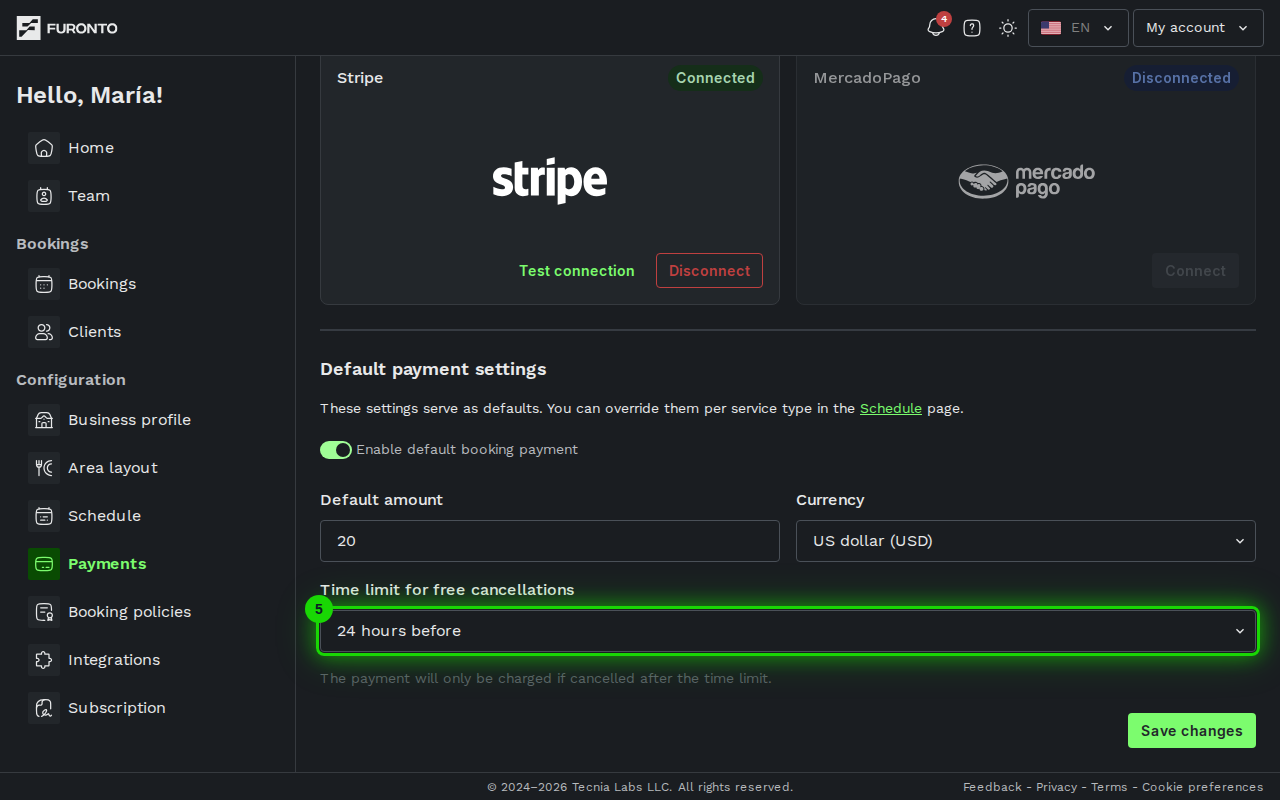
After that window closes, if the customer cancels (or doesn't show), they're charged the amount you set in Step 4.
The cancellation window applies to every booking across every service type that uses the default settings. Make sure it matches how much notice you actually need to re-book the slot.
Step 6: Save your changes
A green Save changes button appears at the bottom of the page as soon as you modify any field. Click it to apply your settings.
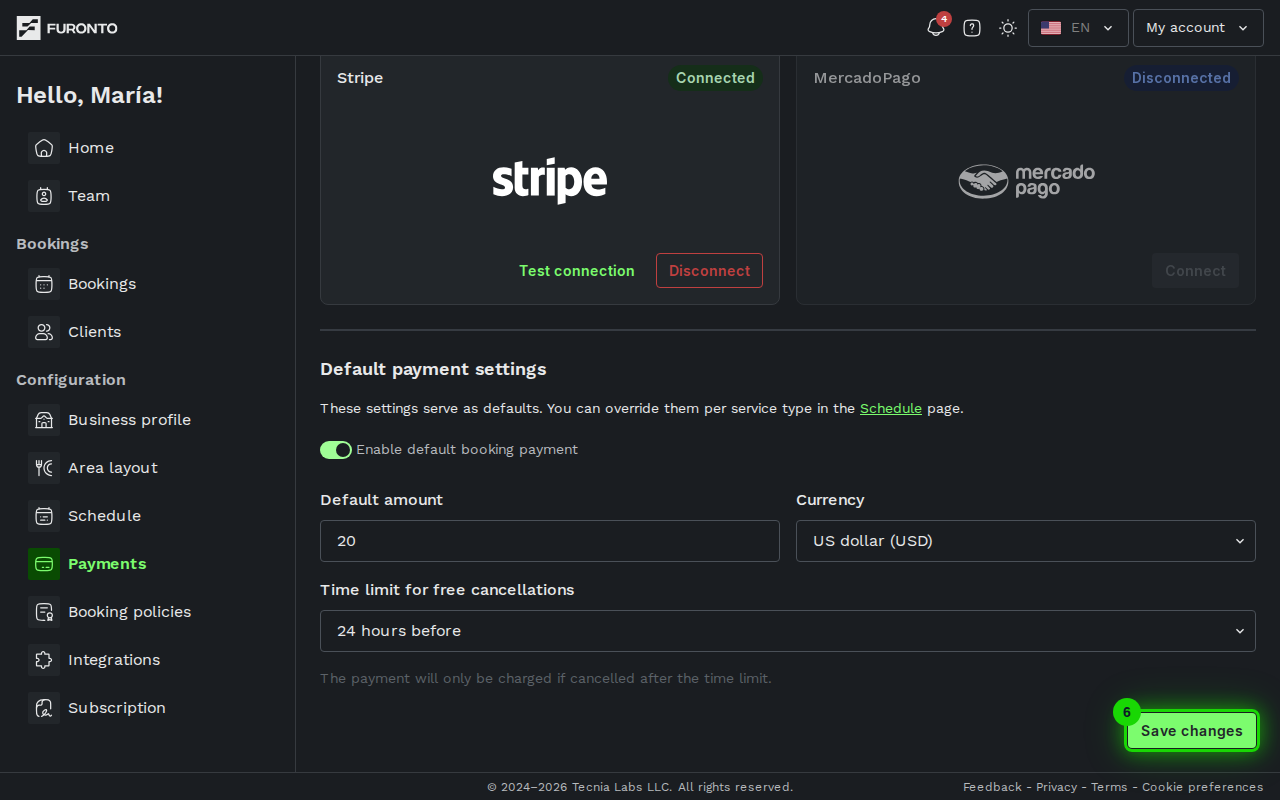
You'll see a confirmation message when it's saved.
If you leave the page without saving, your changes are discarded. A warning will pop up to give you the chance to go back and save.
Tips and best practices
- Connect before you enable — You can't flip the default payment switch on until a provider is connected. Start with Step 1 every time.
- Test after reconnecting — Whenever you reconnect or change the linked account, click Test connection to make sure charges will go through.
- Use sensible amounts — Too high and customers won't book; too low and it doesn't protect you against no-shows. Start conservative and adjust based on what works.
- Match the cancellation window to your business — A busy restaurant might need 24 hours to fill a table; a salon might only need 2 hours. Pick what reflects your reality.
- Override at the service type level — Keep the defaults simple here and use the Schedule page to fine-tune payment per service.
Troubleshooting
The Connect button isn't doing anything
Solution: The provider's site opens in the same tab. Check that your browser isn't blocking redirects or popups. If nothing happens after a few seconds, click it again. If the issue persists, try a different browser or disable ad-blockers on this page.
The status badge says "Error"
Solution: Your connection to the provider expired or was revoked on their side. Click Reconnect on the card — it takes you through the same flow as the initial connection and re-authorizes us to charge on your behalf.
I can't flip the "Enable default booking payment" switch
Solution: The switch only activates after a provider is connected. Scroll up, connect Stripe or Mercado Pago in Step 1, and then come back down to enable default payments.
The currency is wrong
Solution: The currency comes from your connected payment account, not from this page. To charge in another currency, connect an account that charges in it (for example, a Stripe account set up for that country).
After switching provider, a warning says customers can't pay
Solution: Your prices are still in the old account's currency (say ARS) and the new account charges in another one (say USD). Click Switch prices to USD on the warning and confirm. Your prices keep their numbers and change currency, so ARS 80.00 becomes USD 80.00: nothing is converted at an exchange rate. Then review your default amount here and your service, event and add-on prices on the Schedule page.
The test connection fails
Solution: The provider revoked or lost your authorization. Click Reconnect on the card and complete the sign-in flow again. Once you're back, run Test connection to confirm it works.
I want to switch from one provider to another
Solution: Click Disconnect on the currently connected card. The other card will stop being grayed out. Then click Connect on the new provider and follow the flow. If the new account charges in a different currency, the page asks you to switch your prices to it before customers can pay (see above).
Related pages
- Schedule — Override default payments per service type
- Booking policies — Overall booking rules customers must accept